
What is Melonly Vision?
Melonly Vision is a desktop app for Windows and macOS that sits on top of Roblox. Hover over a username in ER:LC, press your capture keybind, and an overlay opens with that player’s details and logs, ready for you to warn, kick or ban them.You need Melonly Pro or a Vision Team seat from your server to use Vision.
Installing Vision
1
Download it
Go to melonly.xyz/vision, sign in and click Download. If you don’t have access yet, the same button starts a Pro trial or subscription instead.
2
Install and sign in
Run the installer, open Vision and sign in with your Melonly account.
3
Give it permission (macOS)
Vision needs Screen Recording permission to read usernames. Turn it on in System Settings, Privacy & Security, Screen Recording, then restart Vision.
4
Add a capture keybind
Open Keybinds and add a capture keybind. There isn’t one until you set it.
Choosing Your Server
The Home page shows your account and the server your moderation is logged to. With Pro you can pick any server you moderate. With a Vision seat, you can pick the servers that gave you one.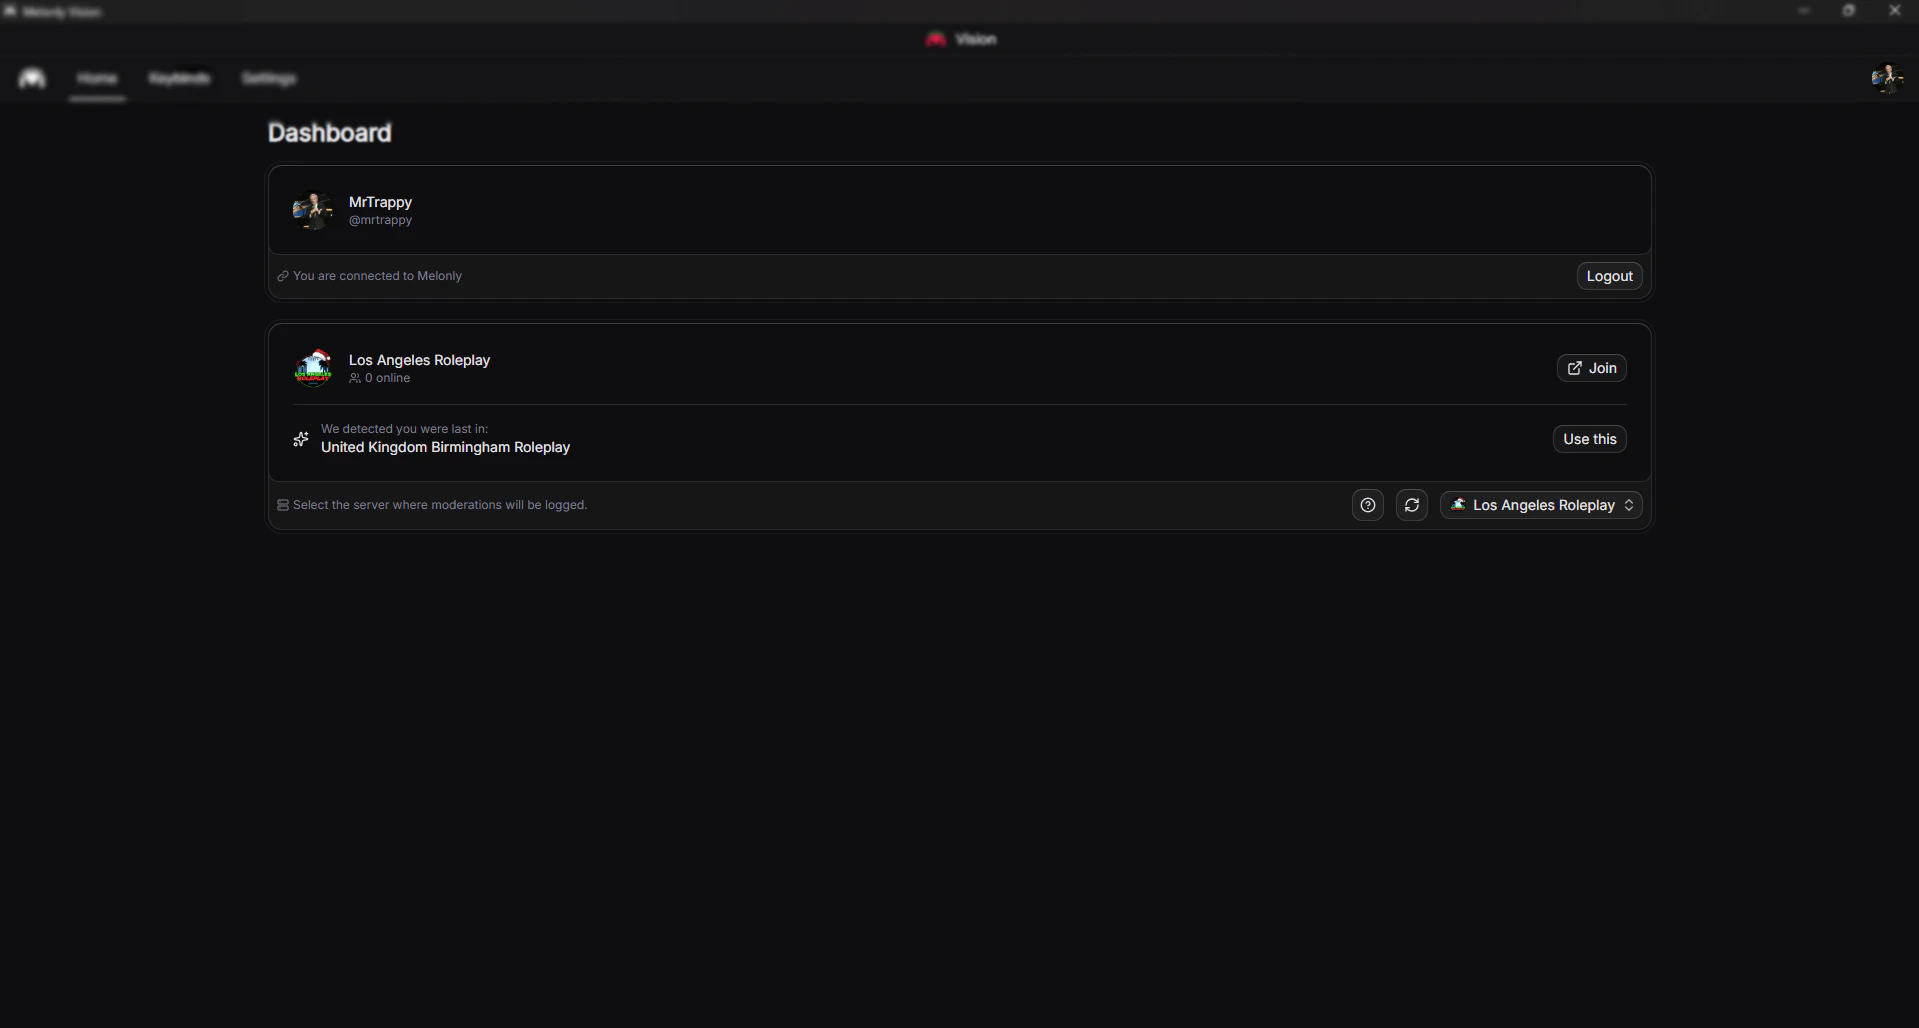
Vision home page
Moderating a Player
1
Capture the username
Hover over the player’s name in game and press your capture keybind. Vision reads the name around your cursor and opens the overlay.
2
Check the player
The overlay shows their Roblox details and previous logs. You can also show their Discord roles and who they’ve killed or been killed by.
3
Create a log
Open Create Log, choose Warning, Kick, Ban, Ban BOLO, Note or one of your server’s custom log types, then enter a reason. For a temporary ban, type when it should end, such as “in 2 hours”.
4
Run it in game (optional)
For kicks and bans, tick the option to kick or ban the player in ER:LC at the same time.
Keybinds
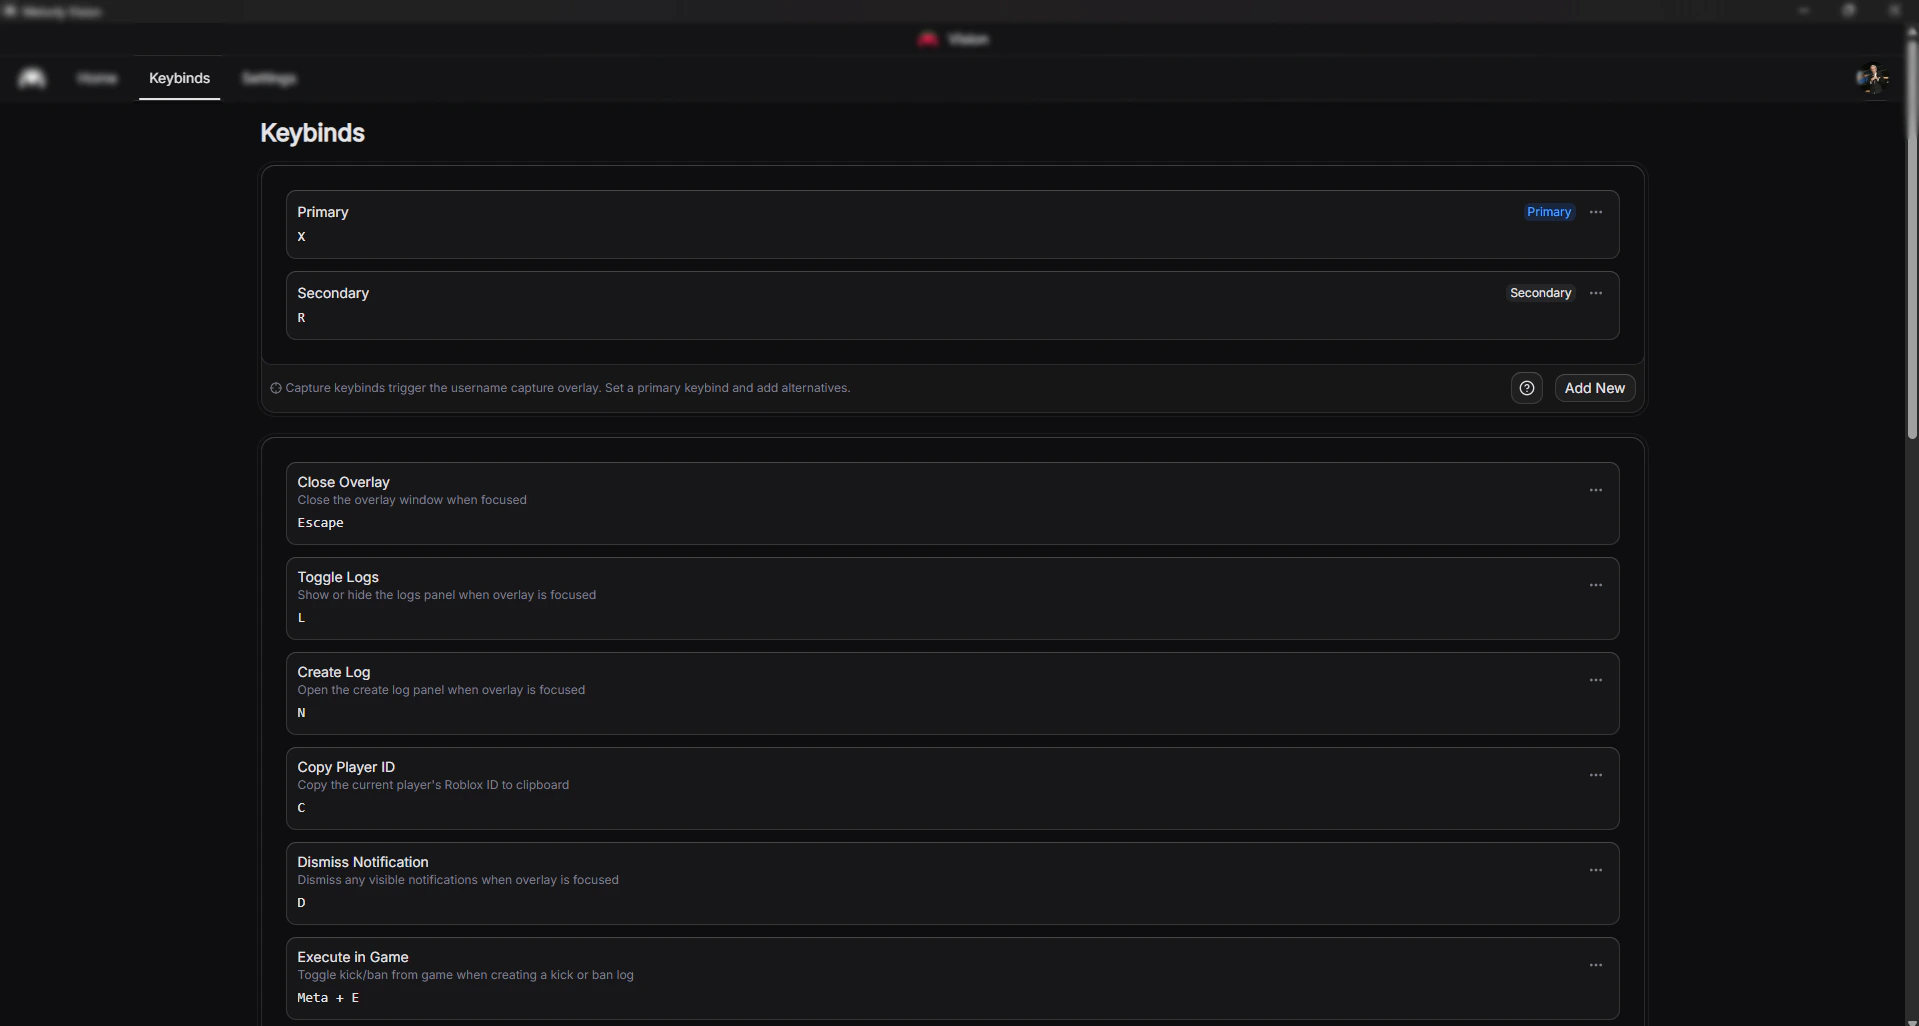
Keybinds page
Capture Keybinds
Capture Keybinds
Shortcuts that open the overlay for the username under your cursor. They work anywhere. Add as many as you like and mark one as primary.
Overlay Keybinds
Overlay Keybinds
Single keys that work while the overlay is focused.
Global Keybinds
Global Keybinds
Work even when Roblox is focused instead of the overlay. They use Ctrl + Alt on Windows and Cmd + Option on macOS.
Settings
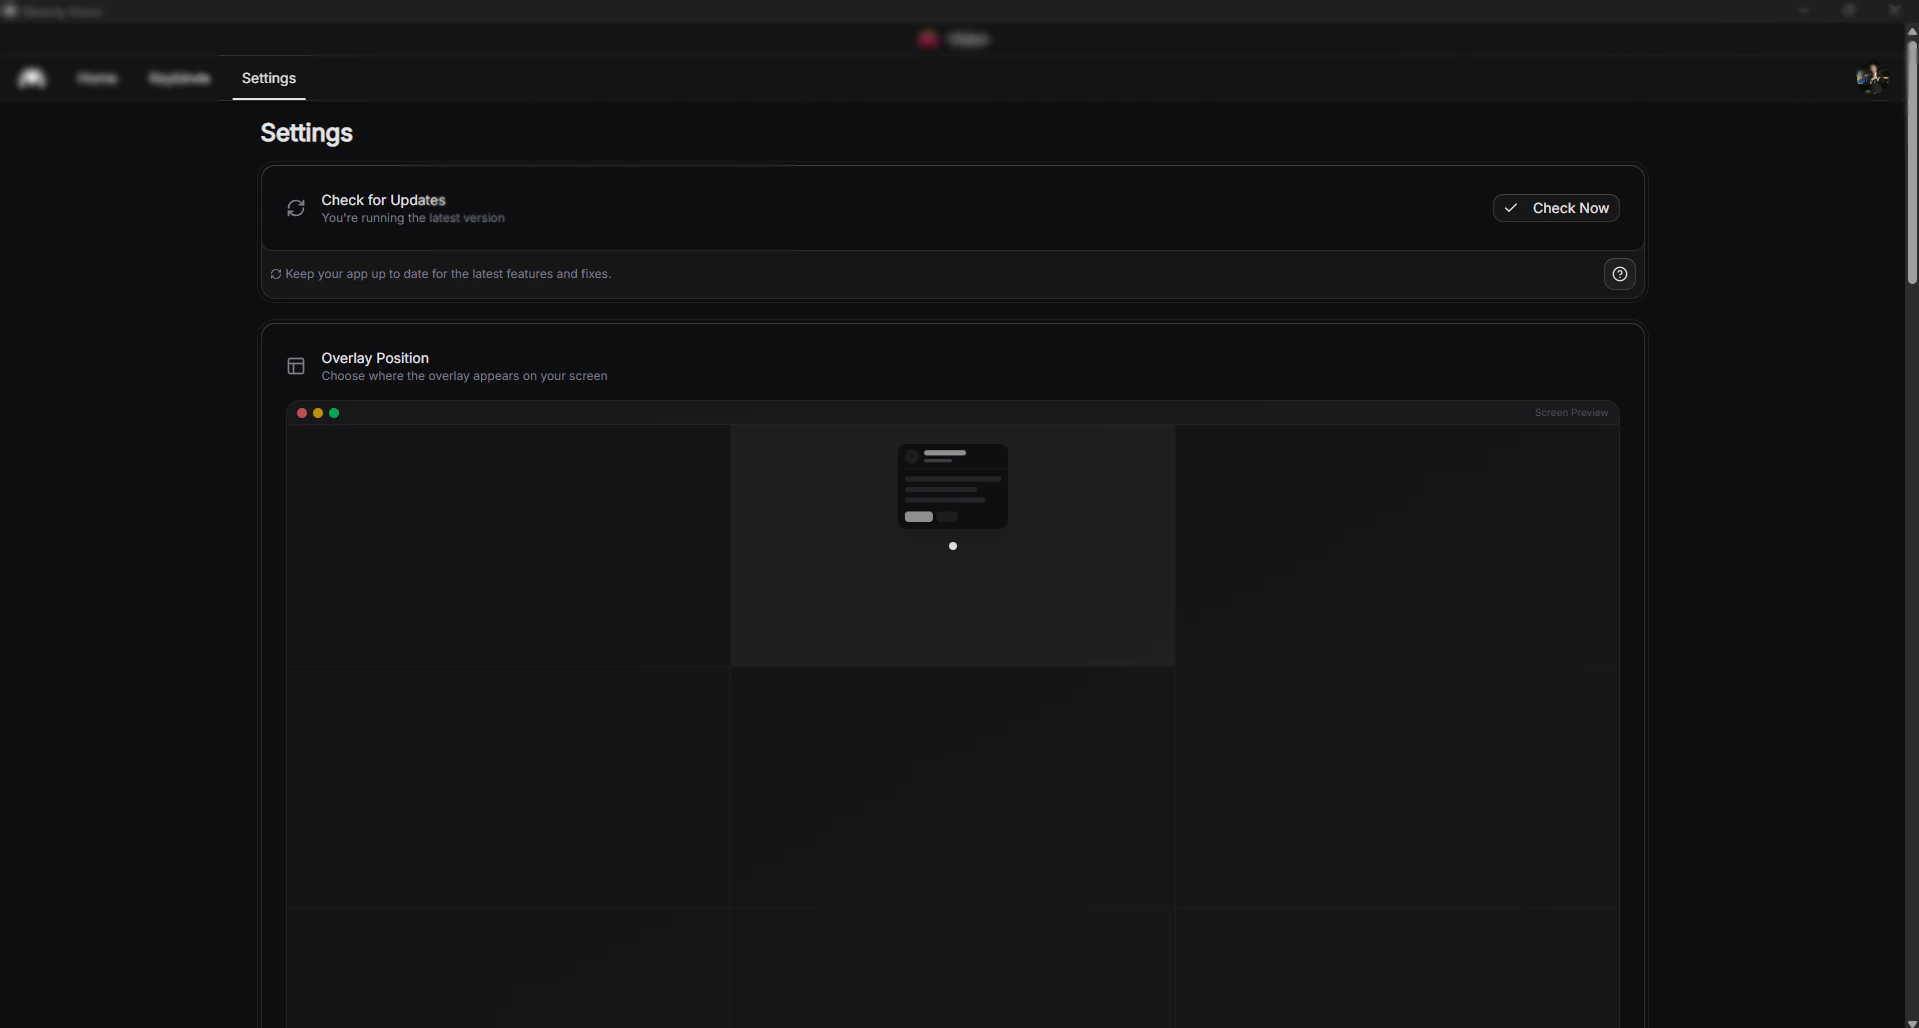
Settings page
All Settings
All Settings
Vision Team Seats
Team seats let a server give Vision to its moderators without each of them buying Pro. A seat only works on the server that owns it.1
Buy seats
Choose a team plan at melonly.xyz/vision, or get seats in a bundle.
2
Activate them on your server
Open Manage subscriptions on your dashboard and activate the seats on your server. See Activating a Subscription.
3
Assign seats
On your server’s Members page, assign a seat to each moderator who should use Vision. You can move seats between members at any time. See Member Management.
Need help?
Still have questions? Join our Discord server for support from the Melonly Team.